Easy fast way to clean and disinfect a manual can opener
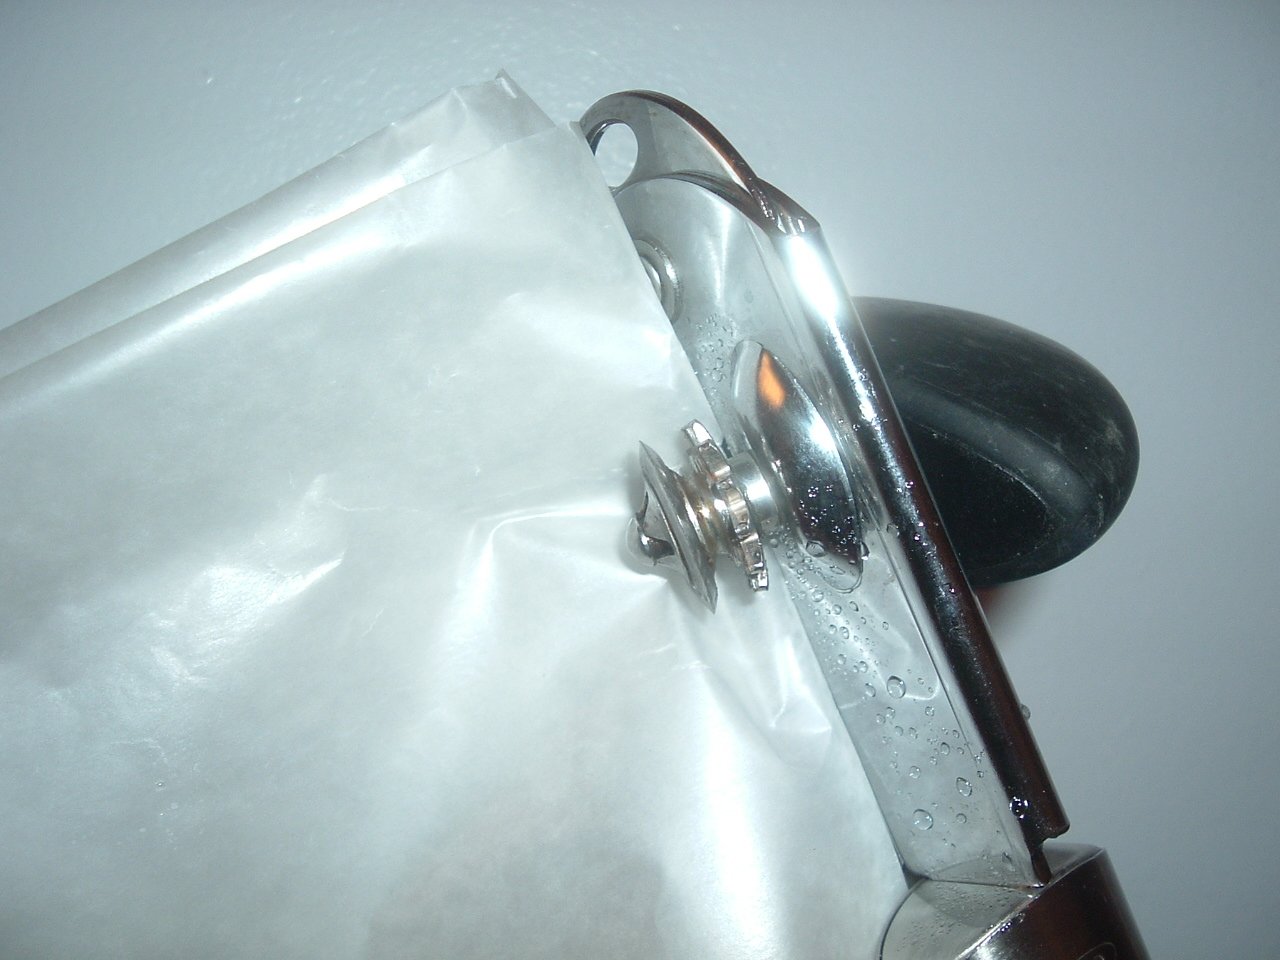
Why in the world would you care to clean and disinfect a manual can opener? What is the big issue? Just open a can and throw the can opener in the drawer like most people do, right?
But what if I tell you that according to TODAY a can opener is one of the top ten germiest spots on your kitchen? It can host mold, yeast, E.coli, and salmonella. Pretty scary, isn’t it?
It happens because the can opener cutting mechanism (cutting and serrated wheels) comes in contact with the food while you open a can and if the tool is not cleaned properly after each use, it can lead to illness for the family.
Can openers not only can harbor bacteria, but also rust flakes can fall into the food while you open the cans. You do not want to eat rust particles, do you?
(This post contains affiliate links. If you choose to purchase any of the products I have recommended, I may receive a commission at no cost to you. For more information, please see my disclosure at the bottom of the page.)
That is why next time you are shopping for a can opener it is a great idea to get a can opener that cuts the can on the side and as result the cutting wheel does not come in contact with food (read more about smooth edge can openers) or you can buy a dishwasher safe model.
But if you are not in a hurry to replace your manual can opener that cuts the can on the top because it functions well, yet at the same time you want to keep your family safe, I will show you the easiest way to clean and disinfect your gadget.
I developed this process over the years and use it myself in everyday life. It takes 1-2 minutes of time, but the health of your family is totally worth it.
So, how do I do it?
Step 1. CLEAN
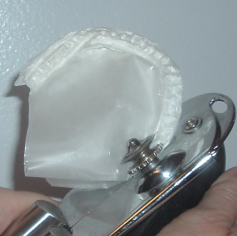
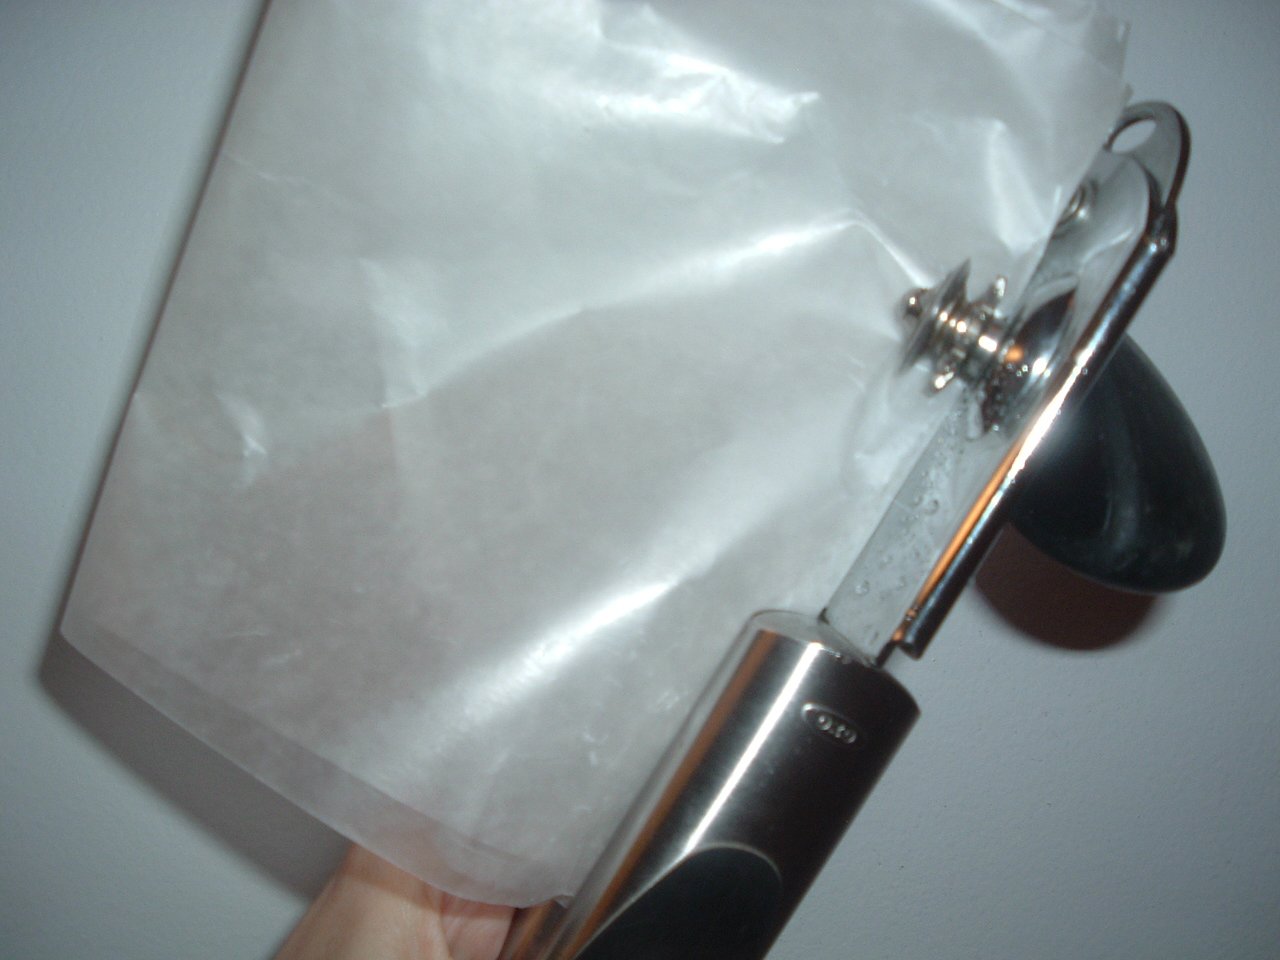
Using wax paper to clean
a manual can opener.
Take a piece of wax paper and fold it 3 times, clamp the edge of the paper down with the manual can opener and start to turn the knob as if opening the can.
If you do not clean your can opener often – it will surprise you how much grime you will see left on the paper. Just keep turning until the clean paper is coming out from under the blades.
If your can opener was not cleaned for a long time or ever – you should use a paper towel folded 3 times for the first time cleaning because its surface is not smooth it will get the dirt better. I bet your kids would love to help you with this step. 😃
Step 2. DISINFECT
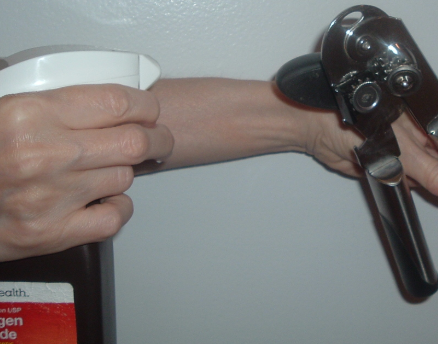
Spray the can opener (mechanism, knob, handles – all parts) with hydrogen peroxide. You can use a food grade hydrogen peroxide by pouring it first in a spray bottle.
A useful tip! Keep food grade 3% hydrogen peroxide in an opaque spray bottle on kitchen countertop near the sink. It is handy for disinfecting all kitchen surfaces, gadgets, and appliances. It kills bacteria and does not leave any odor.
Step 3. DRY
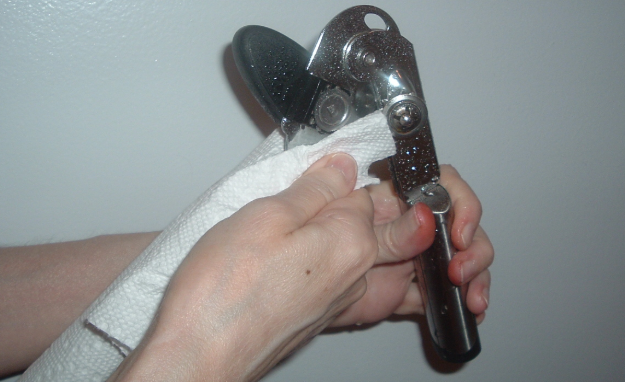
Wipe your manual rotary style can opener with a paper towel.
Step 4. LUBRICATE
Clamp your can opener on a piece of silicone coated parchment paper (alternative – folded waxed paper, or a piece of paper towel with a few drops of food grade mineral oil on it). Crank a paper towel through the spokes to lubricate wheels (like in step 1).
A note. A BIG NO-NO! I read that some people recommend using olive or other vegetable oil to lubricate the blades of a can opener. Do not do it! The oil will go rancid and your opener will smell bad. Bacteria can grow on it and pose a health risk on contact with food while opening cans.
There you have it – a proper way to maintain a manual can opener in 4 easy steps. It seems like it is a time-consuming process, but in reality, it takes only 1-2 minutes of your time. Do it to keep your family healthy and your gadget clean and in a good working order.
Products used for cleaning and disinfecting a manual can opener:
1. Bounty Quick Size paper towels
2. Food grade hydrogen peroxide
(Alternative – regular hydrogen peroxide in a trigger bottle or pump spray from Amazon)
4. Silicone coated parchment paper
(alternative – wax paper)
You have read:
